Responses
Dialogflow Intents have an area to create a response. You can respond directly in Dialogflow with a text response and your message will delivered to Messenger, or you can redirect your response back to Chatfuel and respond with Chatfuel blocks.
Text Responses in Dialogflow
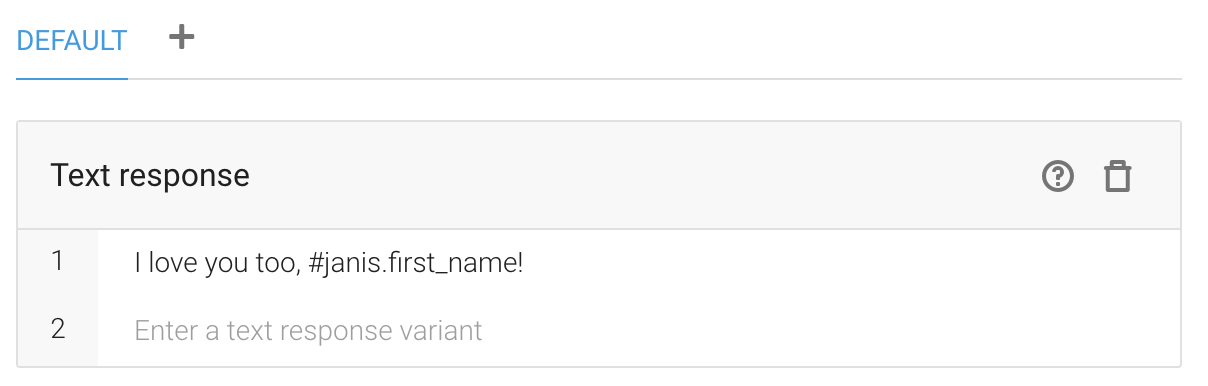
The default response for an Intent is a text response in Dialogflow. You can use basic text, or you can include Chatfuel Attributes in your text responses. In this example, the {{first name}} User Attribute value can be accessed in a Dialogflow text response by adding #janis.first_name in the response. Note that a User Attribute with spaces can be interpreted by Dialogflow by replacing the space with an underscore.
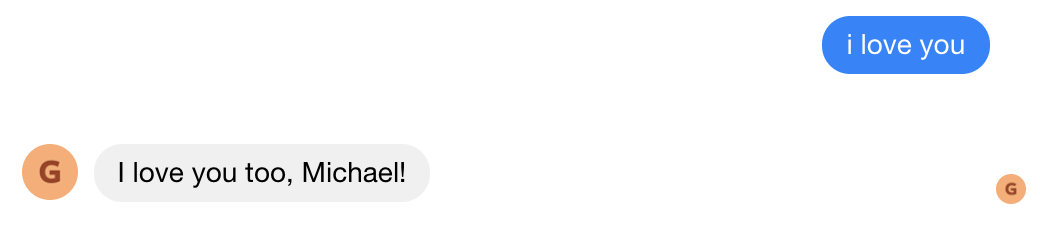
Here is how the response will be displayed in Messenger when the Dialogflow response is requested.
Here is a list of built-in User Attributes from Chatfuel that you can add into a Dialgflow text response:
| #janis.first_name | Will display the Facebook user's first name in your Dialogflow text response. |
| #janis.last_name | Will display the Facebook user's last name in your Dialogflow text response. |
| #janis.gender | Will display the Facebook user's gender in your Dialogflow text response. |
| #janis.timezone | Will display the Facebook user's timezone in your Dialogflow text response. |
Remember to include #janis. in front of any User Attribute, and make sure to replace any User Attribute that has a space in it with an underscore when using the User Attribute in a Dialogflow Intent.
Custom Payload Responses
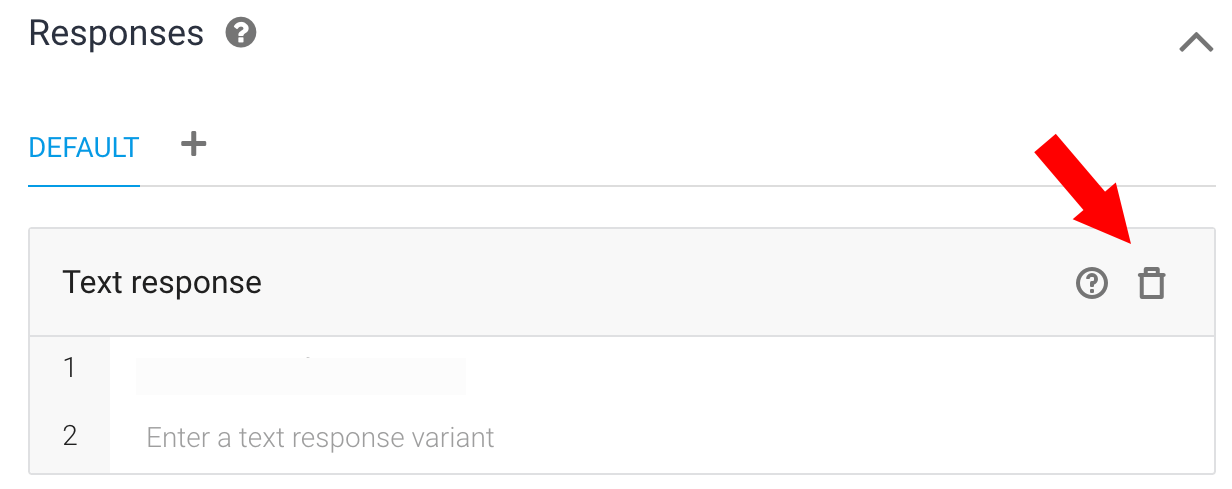
By default, Diaglogflow gives you the option to add a text response, but you could replace that with a Custom Payload response if you want to use Dialogflow to understand your user's intent and then respond with Chatfuel Blocks. To redirect your response to Chatfuel, click the trash can in the text response to remove it.
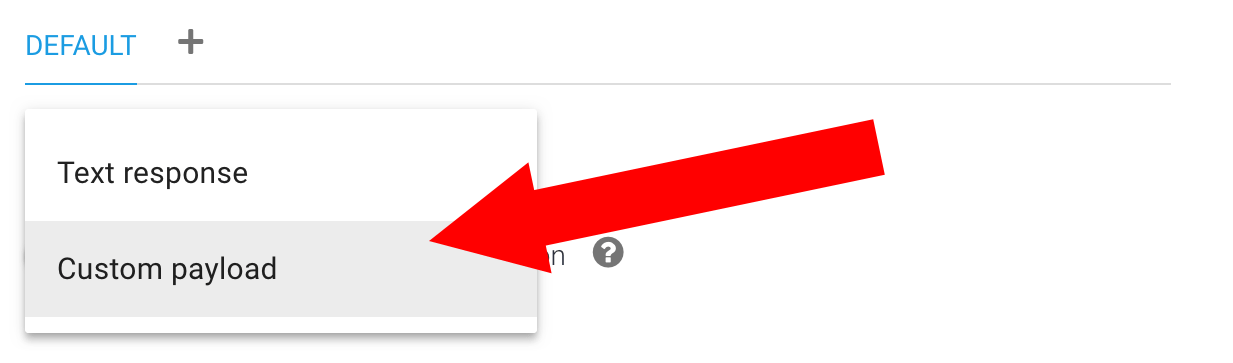
Click Add Responses.

Choose Custom Payload.
You’ll need to add a snippet of JSON code to a Custom Payload response that will tell Dialogflow to redirect back to a Chatfuel block. You can copy this code to your clipboard. In this example, your response for the Intent is your welcome message block in Chatfuel. Block names are case sensitive, so if you don't get back the right block as your response, you should verify the block name matches.
{
  "redirect_to_blocks": [
    "Welcome Message"
  ]
}
In this example you can add a text message response and redirect to a Chatfuel Block:
{
  "messages": [
    {
      "text": "Insert Random Text Here"
    }
  ],
  "redirect_to_blocks": [
    "Welcome Message"
  ]
}
In this example you can send a text message response from Dialogflow with two Quick Reply buttons:
{
  "messages": [
    {
      "text": "Random text inserted here",
      "quick_replies": [
        {
          "title": "Quick Reply Button Name",
          "block_names": [
            "Chatfuel Block Name - Case Sensitive"
          ]
        },
        {
          "title": "Quick Reply Button Name",
          "block_names": [
            "Chatfuel Block Name - Case Sensitive"
          ]
        }
      ]
    }
  ]
}
In this example, you can set two User Attributes and redirect to a Chatfuel Block:
{
  "set_attributes": {
    "attributeName": "some value",
    "attributeName2": "some other value"
  },
  "redirect_to_blocks": [
    "Welcome Message"
  ]
}
For more example Custom Payload tips and tricks, see Deborah Kay's tutorial here
Send data from Dialogflow to Chatfuel
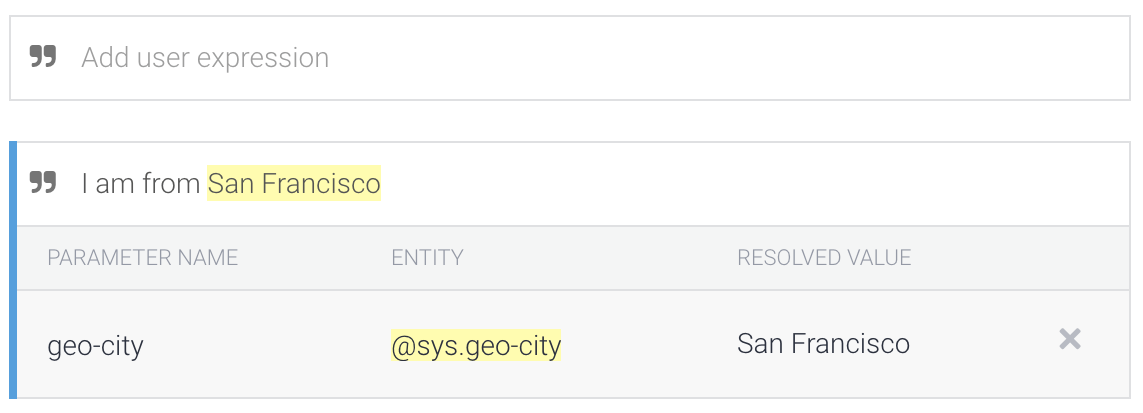
You may wish to use values captured or set by Dialogflow in your Chatfuel block responses. Parameters defined in Dialogflow magically become user attributes in Chatfuel when you use Janis. In this example, we are capturing the city in which the user lives and the city is saved as a parameter value in Dialogflow (geo-city).
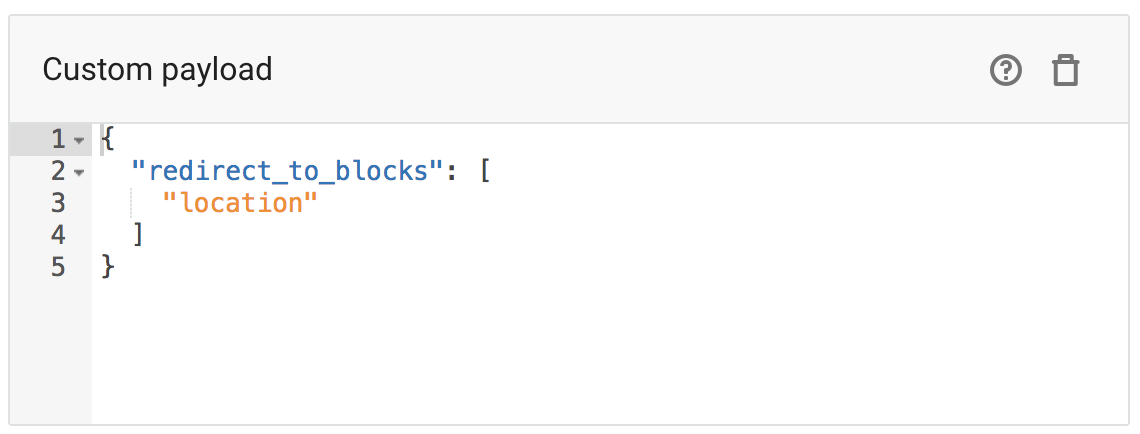
In the Dialogflow response section, we can add a Custom Payload to let Chatfuel know what block(s) to redirect to. In this example, we are redirecting to a block named location.
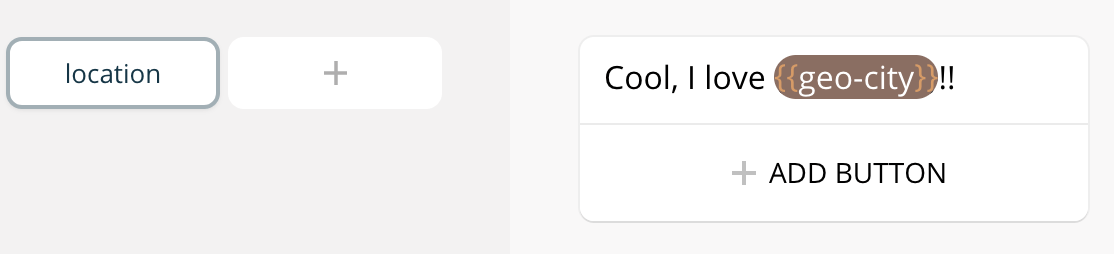
Now, within the location Block, you can use the {{geo-city}} User Attribute in your response.
And as you can see from the Messenger screenshot below, Chatfuel responds with the city captured when the user triggered the Dialogflow intent when they sent a message.
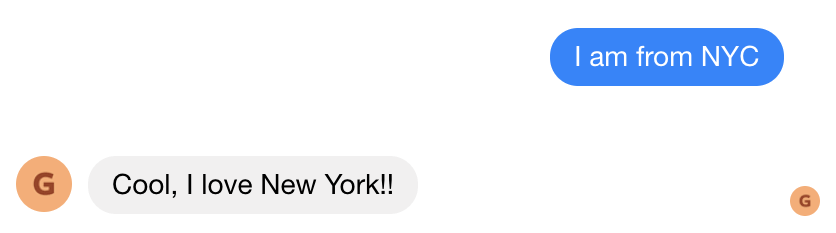
You can see how with the Janis JSON API, you can use the values from Chatfuel User Attributes in your Dialogflow Intents while the Parameter names saved in Dialogflow become User Attributes and the values automatically flow into your Chatfuel Blocks.
Finally, there may be times you want to use a text response from Dialogflow, but you want the UI capabilities of Chatfuel. For example, Dialogflow doesn’t provide typing dots but you may want to include these in your intelligent Dialogflow responses so your responses appear more natural. In your Dialogflow response, include a text response as well as a Custom Payload that redirects to a Chatfuel block.
{
“messages”: [
{“text”: “This message will appear in a Chatfuel block”}
],
“redirect_to_blocks”: [“test”, “Default Answer”]
}
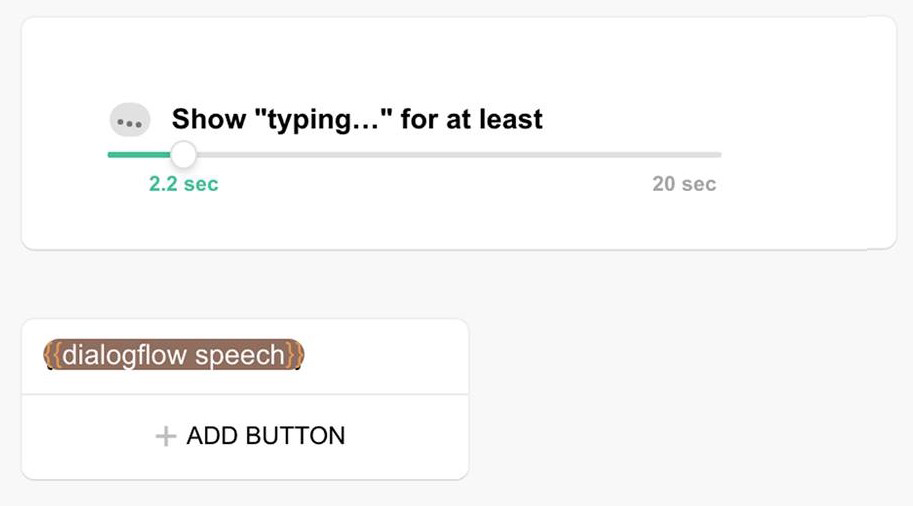
In a Chatfuel block set a User Attribute of {{dialogflow speech}}, then drop this custom User Attribute into a text card just below some typing dots. Your Dialogflow text response will be included in the Chatfuel card.
Because you're using Janis for AI Management, data easily flows both ways between Dialogflow and Chatfuel givingn you just the right amount of control and flexibility to decide how you'll respond to your users.